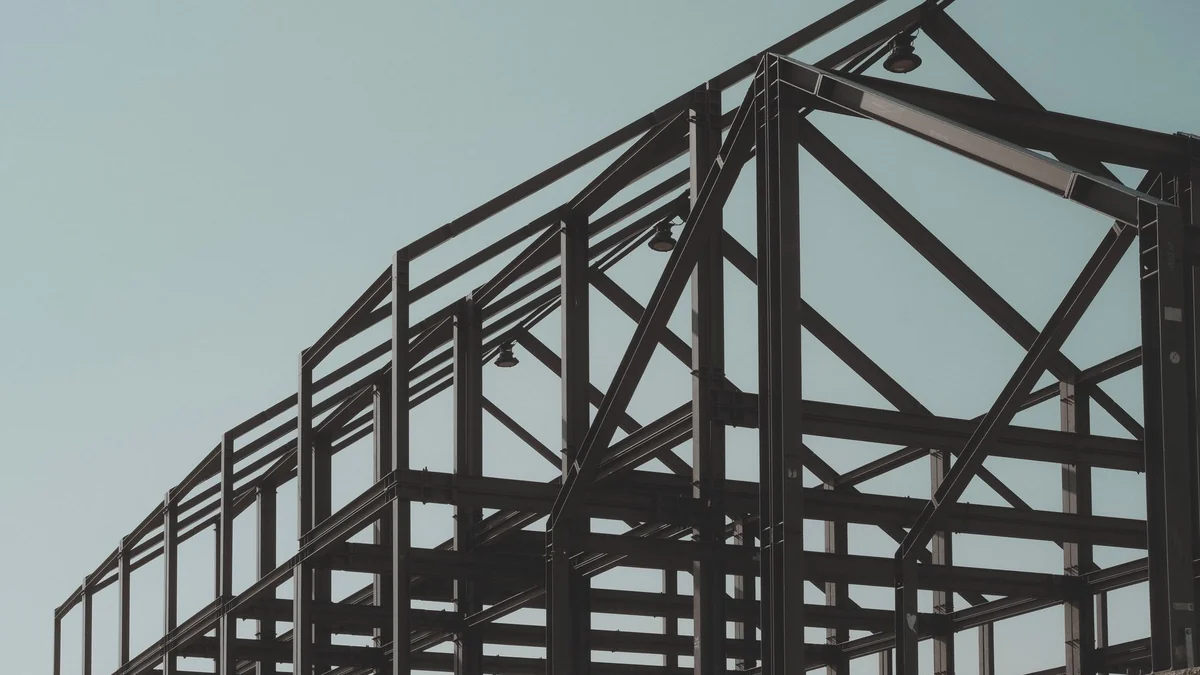
Step 1: Plan the design and the heights
Decide the style, the number of levels, the cove positions and the lights before any work begins. Measure the room and the slab height, and set the finished ceiling level so the room stays comfortably tall. Mark where the downlights, fan, chandelier hook, speakers and any access hatch will go on a simple drawing. Changing these later is expensive.
Step 2: Fix and check the services
Before anything is hidden, fix leaks and damp, and have the electrician run the cables and conduits above the future ceiling. Mark and fix the chandelier and fan hooks to the slab. Test the circuits. Once the boards go up, access gets harder.
Step 3: Mark the level line
Mark a level line around the walls at the finished ceiling height using a laser level or a water level. This line sets the position of the perimeter angle and every level of the frame. A line that is out by a few millimetres shows as a wavy edge once the ceiling is painted.
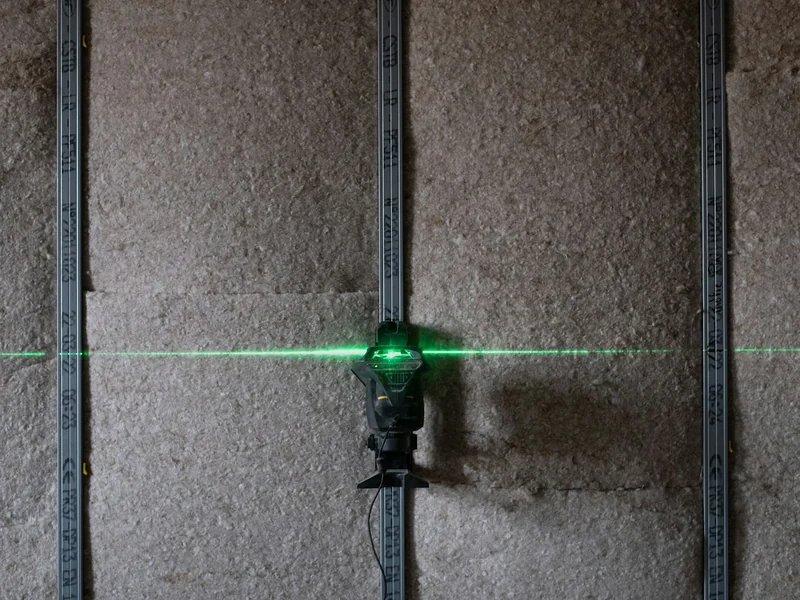
Step 4: Fix the perimeter angle
A metal wall angle is fixed along the level line, with fixings at regular intervals into the wall. It carries the edge of the boards and defines the clean line at the wall. In cove designs, the angle is set back to leave room for the light.
Step 5: Hang the frame
Hanger wires or rods are fixed into the slab with proper anchors, and main channels are suspended from them at regular spacing. Cross channels are then clipped across to form a grid that matches the board size. Check the level often with a straight edge. A weak or uneven frame is the main cause of sagging and cracks.

Step 6: Fit the boards
Gypsum boards are lifted into place and screwed to the frame with the correct spacing, with the screw heads set just below the paper surface. Stagger the joints, and cut openings for lights and hatches carefully. Do not force a board into place, because it will crack along the joint later.
Step 7: Joint, sand and prime
Joints are taped and covered with jointing compound in thin coats, with sanding between them. Screw heads are filled. The result should be a flat, seamless surface in side light. Apply a primer so the paint dries evenly. Poor jointing is the most common reason ceilings show lines after painting.
Step 8: Paint and fit the lights
Apply two thin coats of matt emulsion, cutting in the edges first. Then fit the downlights, cove strips and trims, and test every circuit. Check the finished surface in daylight and in the evening with the lights on, and walk the room with a torch held flat against the ceiling to show flaws. Colour ideas are in ceiling paint colour.
Common installation mistakes
- Hanging from the wrong place: fixings must go into the slab, not plaster or an old ceiling.
- Wide frame spacing: boards sag between the supports.
- Hanging a heavy fitting from the grid: chandeliers belong on the slab.
- Painting too soon: joints and compound must be dry.
- No access hatch: valves and junctions above become unreachable.
If a ceiling already shows problems, see the false ceiling repair guide, and for the cost of the job read false ceiling cost per square foot.
False Ceiling Installation: Frequently Asked Questions
A simple flat gypsum ceiling in an average room can be framed and boarded in a day or two, with jointing and painting taking a few more days to dry between coats. Cove, steps and curves take longer. The drying time for jointing compound and paint sets the schedule.
A laser or water level, a drill, anchors, hanger wire or rods, metal channels and angles, gypsum boards, screws, jointing tape and compound, and paint. A skilled team also uses a mobile platform and a board lifter. Quality of the frame and jointing matters most.
A very simple PVC panel ceiling is a possible DIY job for a handy person, but a gypsum ceiling needs skill, tools and a level frame for a good result. Mistakes in the frame or jointing show clearly, so most owners hire a team and check the stages.
Into the concrete slab with proper anchors, never into plaster, the old ceiling or the boards. The hangers carry the whole weight, so spacing and the strength of the fixings matter. Heavy items such as chandeliers need their own fixing to the slab.
Usually because of a weak or uneven frame, wide support spacing, boards forced into place, poorly taped joints or painting before the compound dried. Good framing and patient jointing prevent most cracks. Water leaks are another cause and must be fixed first.
Send the room size, the ceiling height, a photo and the style you want on WhatsApp. We reply with a written rate that shows the board, the frame, the lights and the labour, and we explain the stages so you can check the work.