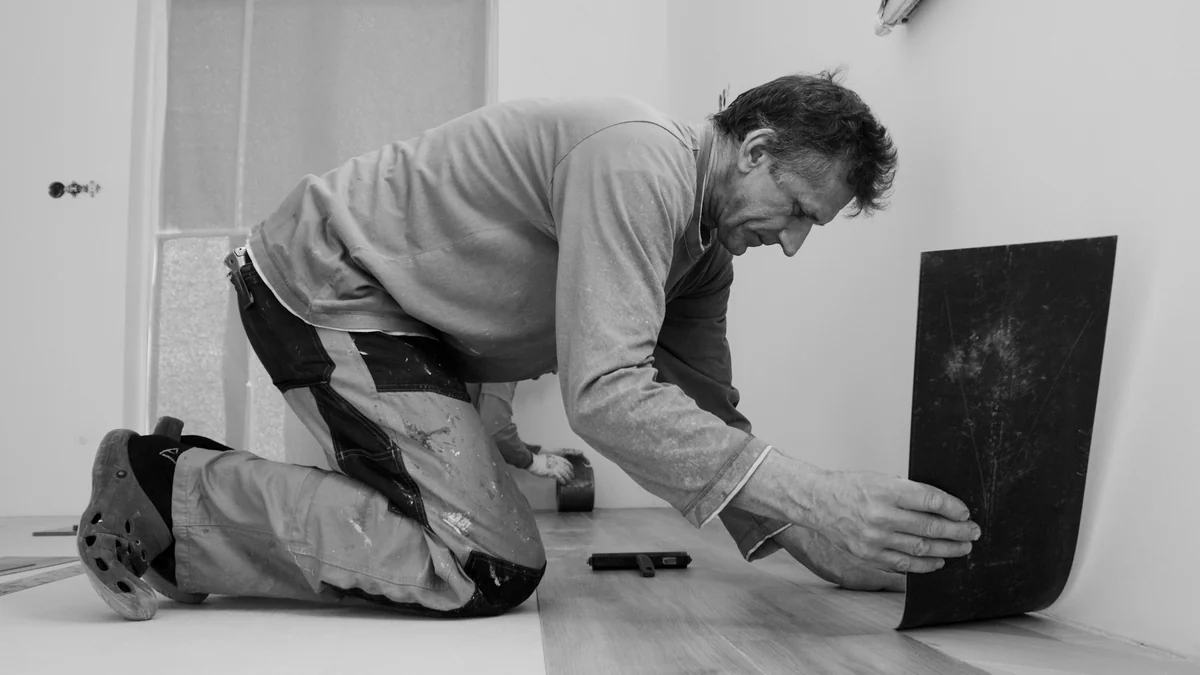
Before you start: tools and materials
You will need a tape measure, a pencil, a utility knife with spare blades, a straight edge, a tapping block and a pull bar, spacers for the wall gap, a mallet, a saw for end cuts and a vacuum. For click floors, the planks and underlay if the plank has none attached. For glued floors, the right adhesive and a notched trowel. Read the maker's instructions, because they decide the method.
Step 1: Acclimatise the planks
Bring the boxes into the room and leave them flat for the time the maker recommends, usually a day or two. This lets the vinyl reach the room's temperature so it does not expand or shrink after fitting. Keep the room at its normal temperature, not very hot or cold, before and during the work.
Step 2: Prepare the subfloor
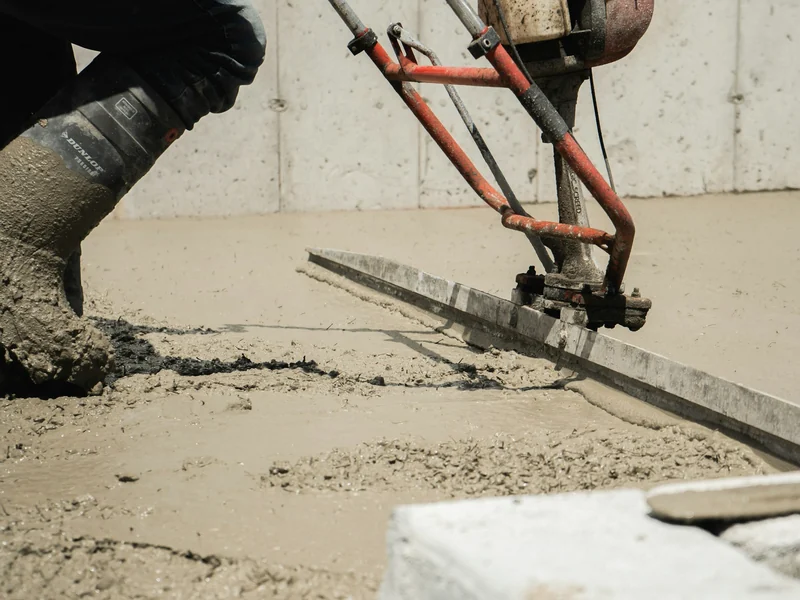
The subfloor should be clean, dry, hard and flat. Sweep and vacuum, scrape off lumps, fill cracks and holes and grind high spots. Check flatness with a long straight edge: dips and bumps show through thin vinyl and can make click joints fail. Over old tiles, fill the grout lines with a levelling compound if they are deep.
Step 3: Check for moisture
Even waterproof vinyl suffers if damp rises through the slab. Test the slab, especially on ground floors and in humid weather. If readings are high, fix the cause or use a moisture barrier before laying. Never cover a damp slab and hope it dries, because moisture trapped under the floor can cause mould and glue failure.
Step 4: Plan the layout
Measure the room and plan the rows so that the last row is not a thin sliver. Start from the longest straight wall or the line of sight from the entrance. Stagger the end joints by at least the distance the maker advises, usually several inches, so the floor looks natural and locks properly. Mix planks from several boxes to blend shades.
Step 5: Lay the underlay and the first row
If an underlay is needed, lay it with the joints taped and no overlaps. Put spacers against the wall to leave the expansion gap, commonly around 8 to 10 mm, which the skirting will hide. Lay the first row with the tongue facing the wall or as the maker says, and check it is straight, since every other row follows it.
Step 6: Click the planks together
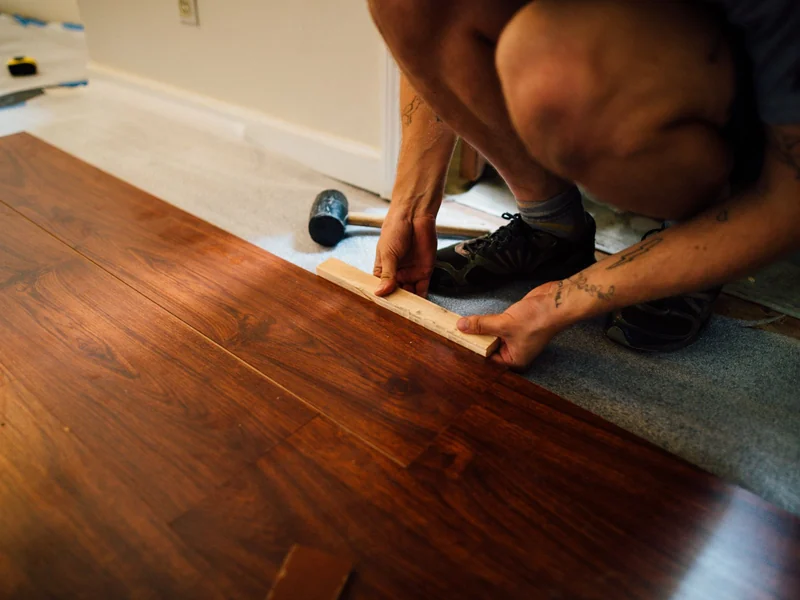
Angle each new plank into the previous row, press down to lock and tap the end joint with the tapping block, not the mallet directly on the edge. Work across the room row by row. Check regularly that the joints are tight and the rows are straight, and separate and re-click any plank that does not sit flat.
Step 7: Cut around obstacles and finish with trims
Mark and cut planks with a sharp knife or a saw. Undercut door frames so the plank slides beneath them for a neat finish, with the gap hidden. For pipes, drill a hole slightly larger than the pipe and cut a slot to slide the plank around it. Measure twice before cutting, because a mis-cut plank is wasted.
Then remove the spacers and fit skirting or scotia moulding to cover the gap, fixing it to the wall, not the floor, so the floor can still move. Add thresholds where the vinyl meets another floor and nosings on steps. Clean the floor and let it settle before moving heavy furniture back, using felt pads.
Glued sheet and tile: what is different
Glued vinyl needs an even smoother subfloor, since there is no rigid core to bridge dips. The adhesive is spread with a notched trowel in the area you can cover before it skins over, the vinyl is laid and rolled to remove air, and seams are trimmed and sealed where required. Wet rooms need sealed edges. See vinyl sheet flooring for more.
Common mistakes to avoid
- Laying over a damp or uneven slab.
- No expansion gap at walls and fixed units, which causes buckling.
- Skipping acclimatisation of the planks.
- Fixing the skirting through the floor, which stops it floating.
- A thin last row because the layout was not planned.
For rates and a quick estimate, see SPC flooring price and the flooring cost calculator.
How to Install Vinyl Flooring: Frequently Asked Questions
A handy person can fit click SPC or LVT in a simple room with basic tools, if the subfloor is flat and dry and the maker's instructions are followed. Layout, cutting around obstacles and the expansion gap need care. Large or awkward rooms are easier with an experienced fitter.
A room of average size can usually be fitted in a day once the subfloor is ready, though preparation such as levelling or removing an old floor can add time. Glued sheet takes longer because the adhesive needs time to set. Allow extra for trims and skirting.
Many SPC planks have an underlay attached, in which case you do not need another. If not, a suitable underlay adds comfort and reduces sound, and some makers specify one. Never add a second thick foam layer under a plank that already has one.
Commonly around 8 to 10 mm at all walls and fixed objects, but follow the maker's figure. The gap lets the floor expand and contract with temperature, and the skirting or trim covers it. A missing gap is a common cause of buckling and lifting.
Often yes, if the tiles are firm and the grout lines are filled and smoothed so they do not show or telegraph through. Loose or hollow tiles must be fixed first. Click SPC copes better with small variations than glued sheet or LVT.
Send the room size, a photo and the type you prefer on WhatsApp. We reply with a written rate showing the flooring, underlay and trims, and tell you what fitting is available for your address, so you can compare quotes on the same scope.