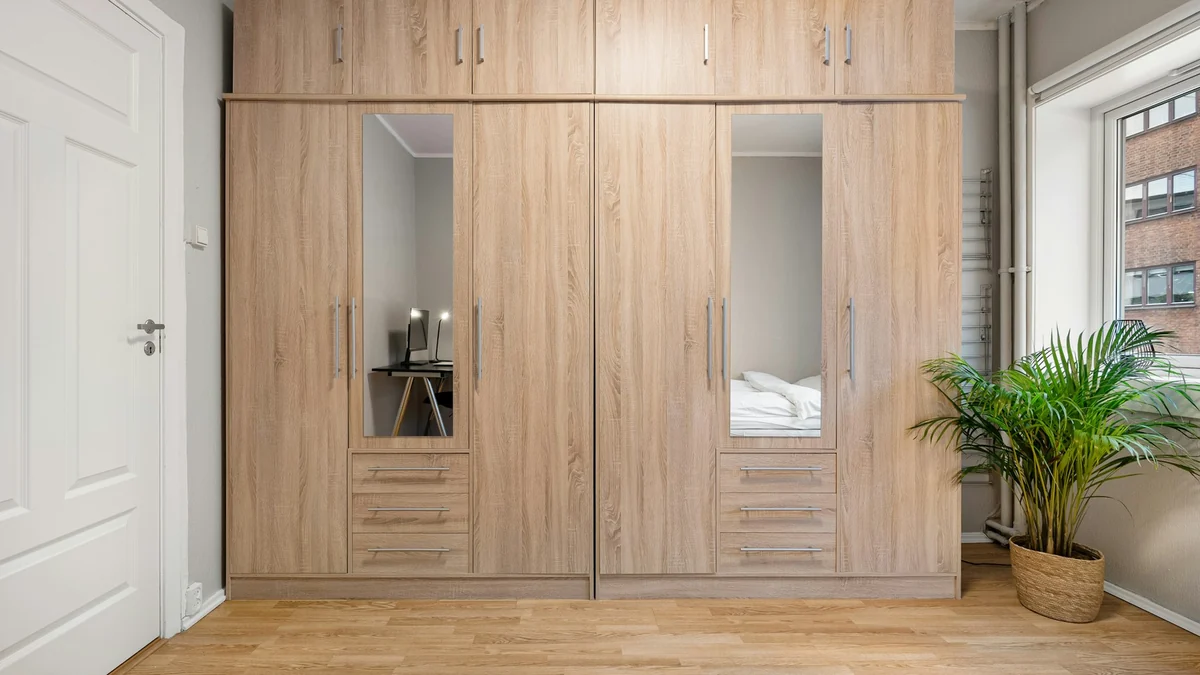
Step 1: Decide where the surface will be used
Start with the job, because it sets everything else. A kitchen worktop takes heat, knocks and water. A wardrobe door takes fingerprints. A bedroom headboard takes almost nothing. The harder the use, the better the laminate and the board need to be.
Write down each surface you plan to laminate and note how it will be used: worktop, door, drawer front, side panel, wall panel or counter. You will choose differently for each.
Step 2: Choose the type of laminate
Three types dominate: HPL, melamine and PVC or vinyl foil. HPL is the hardest and best for worktops, doors and counters. Melamine is cheaper and ready-faced on a board, good for carcasses and shelves. PVC foil wraps shaped doors but is the least heat-resistant.
| Surface | Best type | Why |
|---|---|---|
| Kitchen worktop | HPL | Heat, scratch and water resistance |
| Wardrobe doors | HPL or UV board | Daily touch and a good finish |
| Cabinet carcass and shelves | Melamine board | Economical and ready to cut |
| Shaped or curved doors | PVC foil | Wraps around profiles |
| Wall panels | HPL or melamine | Depends on the room |
Read more in our laminate sheets guide, the HPL sheet guide and the melamine sheets page.
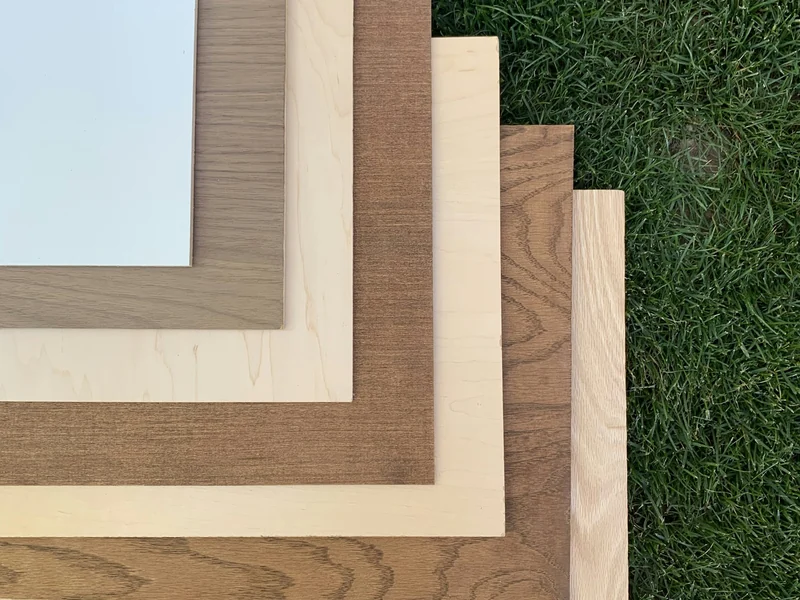
Step 3: Pick the thickness
Decorative laminate is thin, about 0.6 to 1.5 mm. For most furniture, 0.8 mm is standard, and 1 mm is a safer choice for kitchens and counters. Compact laminate, several millimetres thick, is for partitions and lab tops and needs no board behind it.
Do not pay extra for thickness you do not need. A 0.8 mm sheet on a good board and with good glue outperforms a thicker sheet on a poor board.
Step 4: Choose the finish
Finish changes both look and upkeep. Gloss brightens a small room and shows fingerprints. Matt and suede finishes hide marks and feel softer. Wood-grain textures feel natural and hide wear. A fine texture is the practical choice for kitchen drawers and wardrobe doors that are touched all day.
View a large sample at the site in daylight and evening light, and hold it against the floor and the walls before you decide.
Step 5: Match the board behind the laminate
Laminate is only a surface. MDF gives a flat base in dry rooms, HDHMR is better for kitchens and bathrooms, and plywood is best for strength and structure. A good laminate glued to a poor board will fail at the edges and the corners first.
Ask which board is used and how the laminate is bonded: a hot press or a cold press, and what glue. The MDF and HPL sheets section lists the boards that suit each room.
Step 6: Specify the edge band
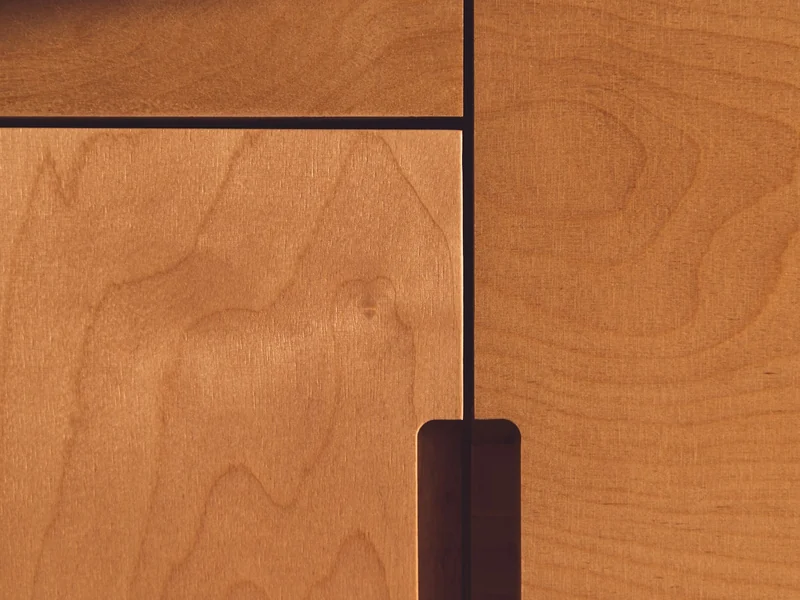
The edge is where laminate jobs fail. Specify a matching edge band, fitted with hot-melt glue and trimmed clean, on every exposed edge. A mismatched or thin band shows as a line and lets moisture in. In wet rooms, seal the cut-outs for sinks and hobs as well.
Step 7: Compare quotes properly
Ask every seller for the same details: the laminate type and brand, the thickness, the finish, the board and the size. Convert any per-sheet price to a rate per square foot by dividing by 32 for an 8 x 4 ft sheet, and compare only like with like. Also ask whether the price includes tax, cutting and edge banding.
For published ranges and local supply, see our lamination sheets page and the HPL sheets in Lahore page.
Common mistakes when choosing a lamination sheet
Most problems come from a handful of choices. Buying on colour alone, from a small chip, is the most common: a shade that looks calm on a chip can look strong across a whole wall. Choosing melamine for a kitchen worktop is the next, because it chips and marks under hard use. Skipping the edge band specification, or accepting a thin band, is where moisture gets in and the laminate lifts.
Other mistakes are mixing batches, which makes neighbouring doors differ in shade, and paying for extra thickness while ignoring the board and the glue, which matter more. If a quote is far lower than the others, check the thickness, the core and the face before you accept it.
A final checklist before you order
- The surface use is written down for every part.
- The laminate type matches the use: HPL for hard use.
- Thickness and finish are confirmed on a full-size sample.
- The board is named and suited to the room.
- Edge band and cut-out sealing are specified.
- All sheets for the job come from one batch, so the colour matches.
If you would like help working through the list, send a photo of the space on WhatsApp and we will suggest a laminate, a board and a finish and quote them together.
Choosing a Lamination Sheet: Frequently Asked Questions
HPL is the best common choice for kitchen worktops, doors and counters because it resists heat, scratches and water better than melamine or PVC foil. Put it on a moisture-resistant board such as HDHMR or BWR plywood and seal every edge and cut-out.
For most furniture, 0.8 mm is standard, and 1 mm is a safer all-round choice for kitchens and counters. Compact laminate, several millimetres thick, is a different product for partitions. Good glue and a good board matter more than extra laminate thickness.
Neither is better everywhere. Gloss brightens a room and shows fingerprints, while matt, suede and fine textures hide marks and feel softer. For drawers and doors that are touched all day, a matt or textured finish is more practical, and gloss suits upper doors.
Usually because of poor bonding, a weak edge band or water reaching the board behind. Ask how the laminate is glued, specify a matching edge band fitted with hot-melt glue, and seal cut-outs in wet rooms to keep moisture out.
It is best not to. Colour and texture can differ slightly between batches, which shows on adjacent doors and panels. Order all the sheets for one job together, and ask the supplier to confirm that they come from the same batch.
Send the laminate type, thickness, finish, board and the size of the job on WhatsApp. We reply with a written rate per sheet that is current on that day, and can include matching edge band so the whole job is quoted in one message.