
Step 1: Measure and plan the layout
Measure the room and sketch the tile grid so border tiles are equal on opposite sides and not thin slivers. Mark light, fan and vent positions on the plan.
Step 2: Check the ceiling and mark lines
Check the slab for leaks and damp, then snap chalk lines for the grid or tile rows. Mark the level for wall angles around the room with a laser or water level.

Step 3: Fix the framing or grid
For grid ceilings, fix wall angles, hang main runners from the slab and add cross tees. For clip-in panels, fix carriers. See drop ceiling. Glue-on tiles need a clean, flat, sound surface.
Step 4: Fit the tiles
Lay tiles into the grid, press clip-in panels onto carriers or stick glue-on tiles with the right adhesive, working from the centre outwards. Keep joints tight and aligned.

Step 5: Cut borders and fit lights
Cut border tiles with a sharp knife against a straight edge, and cut openings for lights and vents precisely. Use LED lights that stay cool, and support heavy fittings from the slab.
Tools and safety
You need a tape measure, level or laser, chalk line, drill, snips, knife and a stable platform. Wear eye protection and a mask, switch off power when working near wiring and never work from a chair.
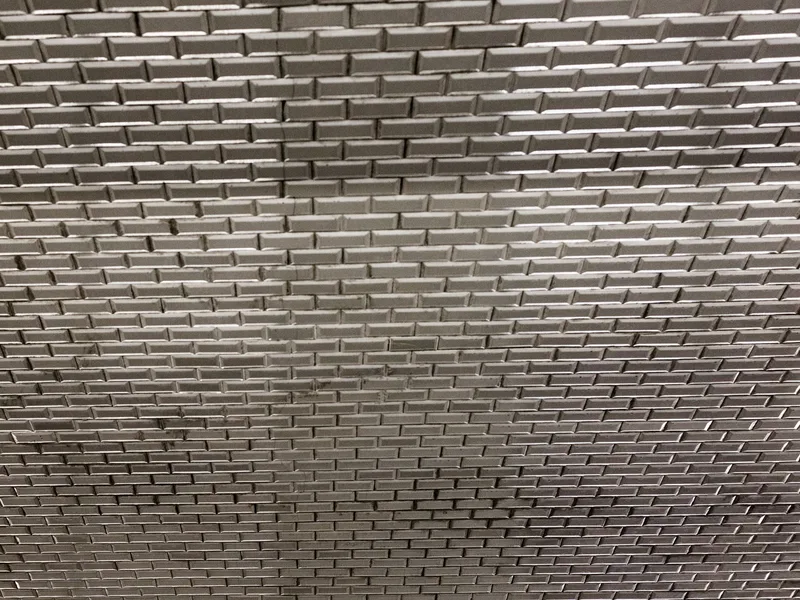
Indicative rates
These ranges show common fabrication and material figures.
| Item | Indicative range |
|---|---|
| Ceiling tile, per sq ft | PKR 60 - 260 |
| Grid system, per sq ft | PKR 60 - 140 |
| Adhesive for glue-on tiles, per pack | PKR 500 - 1,500 |
| Tools hire or purchase | PKR 2,000 - 12,000 |
| Contractor labour, per sq ft | PKR 25 - 70 |
Prices move with brand, model, size and stock. Use these ranges to judge a quote, then compare the exact model and what is included.
Finishing and common mistakes
Common mistakes are uneven layout, weak hangers, ignoring leaks, overheating plastic near lights and skipping spare tiles. Keep a few spares for repairs. Installation should be done by a trained ceiling fixer, with the structure, wiring and services above the ceiling checked first.
Before you decide
Plan the layout carefully, fix leaks first and work safely from a proper platform. Take photos of your room, measure the ceiling height and the positions of lights, fans and windows, and share a simple sketch with the contractor so every quote covers the same design. Visit a finished ceiling by the same contractor if possible and check joints, paint and light alignment before agreeing the final payment. Ask neighbours or friends who have similar rooms how their ceilings have aged over two or three years, and look at photos of finished rooms to note details you would repeat. Measure each room, make a simple sketch of the ceiling layout with light and fan points, compare at least two quotes on the same specification of material, framing, paint and labour, and keep the invoice and any warranty. Ask the contractor for the finished thickness, drop height and wiring plan in writing, check a completed ceiling in person if possible and agree stage payments, with a final payment only after the finish, joints and lights are inspected. Prices change with material costs and stock, so confirm the current figure before you decide.
Frequently Asked Questions
Plan the layout, fix a grid or carriers, fit tiles from the centre out and cut borders carefully. Ask for the specification in writing so you can compare quotes on the same basis. Check the warranty terms and who honours them before you pay.
Indicative labour runs from about PKR 25 to 70 per square foot plus tiles and grid. Check the warranty terms and who honours them before you pay. Measure carefully and confirm sizes with the seller before ordering. Rates and stock change, so confirm the current position before you commit.
Yes, on a clean, flat, sound surface with suitable adhesive. Measure carefully and confirm sizes with the seller before ordering. Rates and stock change, so confirm the current position before you commit. If you are unsure, send a photo and the measurements and we will advise.
Measuring, levelling, cutting and fixing tools and a safe platform. Rates and stock change, so confirm the current position before you commit. If you are unsure, send a photo and the measurements and we will advise. Ask for the specification in writing so you can compare quotes on the same basis.
Poor layout and ignoring roof leaks. If you are unsure, send a photo and the measurements and we will advise. Ask for the specification in writing so you can compare quotes on the same basis. Check the warranty terms and who honours them before you pay.
Send the quantity, the size or rating and a photo of the space. We reply with a written rate that names the model and the warranty, and lists what is and is not included, so the comparison with other sellers is fair.